Ptolemy's Cafe
Construction Progress Photos
Building the observatory was too big a job for me. I hired a local contractor, Jeff Leaver who has done a fine job. The project took more than 10 months from the first digging to the end. That seems like a long time but it would never have happened at all if I had tried to do it myself :-)
(Click on the pictures for larger versions.)
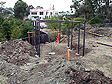
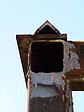
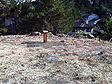 1999 Aug 11: The first act of the construction project was to remove my temporary pier.
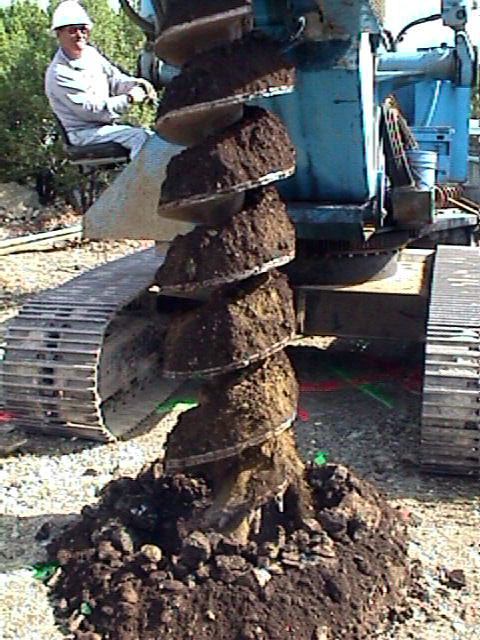
 Eight 16" diameter holes and two 24" diameter holes were drilled 8' deep to support the walls of the observatory. Plus an additional 24" hole 10' deep for the telescope pier itself. Our "soil" is very rocky; these 11 holes took all day for this giant drill rig; imagine doing it any other way :-(
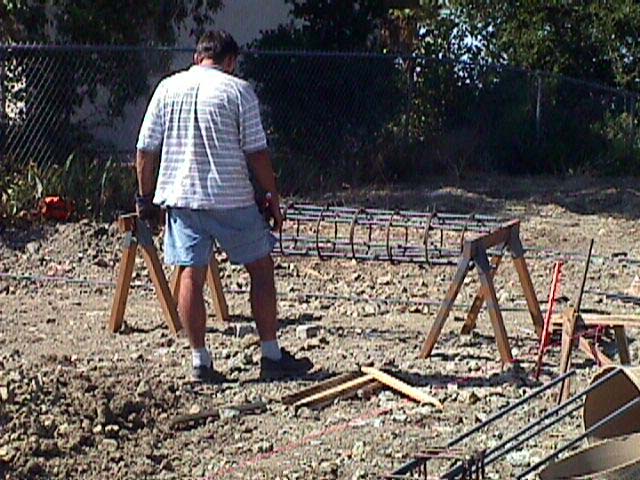
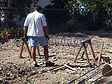 A steel reinforcing bar cage was built for each hole, then lowered in place and supported a few inches off the ground before the concrete was poured.
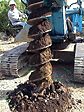
 The bottom half of the telescope pier; we added four extra rebars in addition to the cage to help tie into the upper part which was poured a few days later along with the grade beams. Most of the intervening time was spend tieing the rebars in the grade beams. We must have used 1000 ties :-(
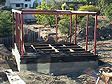
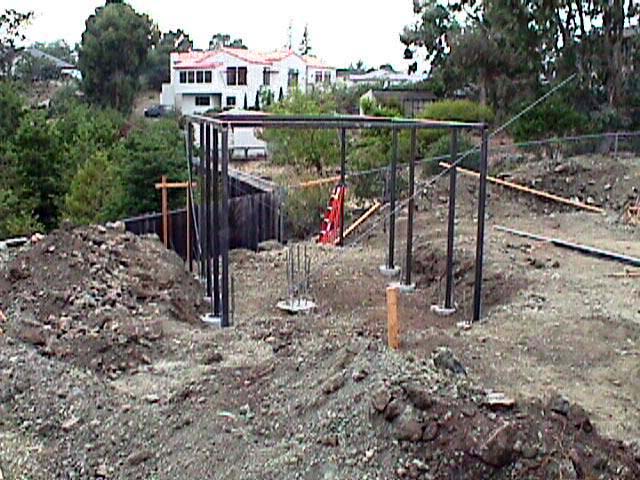
 The structural strength of the building is provided by 8 3" square steel tubes bolted onto the concrete piers and encased and connected by reinforced concrete grade beams. Two more steel tubes hold up the roll-off support rails. All these are connected at the top by more 3" tubes to form a complete steel box frame.
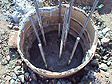
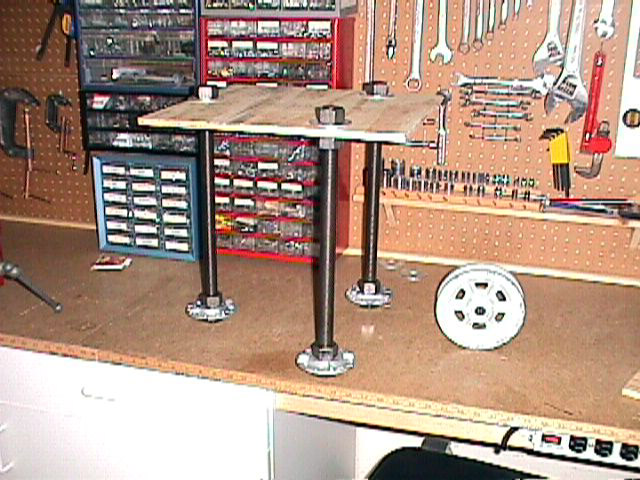
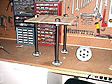 The scope pier has three sets of three 18" long 1" diameter steel bolts for attaching a steel telescope support pier. These bolts are mostly embedded in the concrete with the big washers at the bottom to help hold them in place. (The plywood is just to keep them in place while the concrete sets.)
Also visible is one of the eight wheels on which the roof rolls.
 The square top of the pier is connected to the cylinder below by a bunch of rebar; then more rebar is laid on top (and wired in place) for additional strength. This puppy is SOLID. (But, as I found out later, not particularly good at damping vibration.)
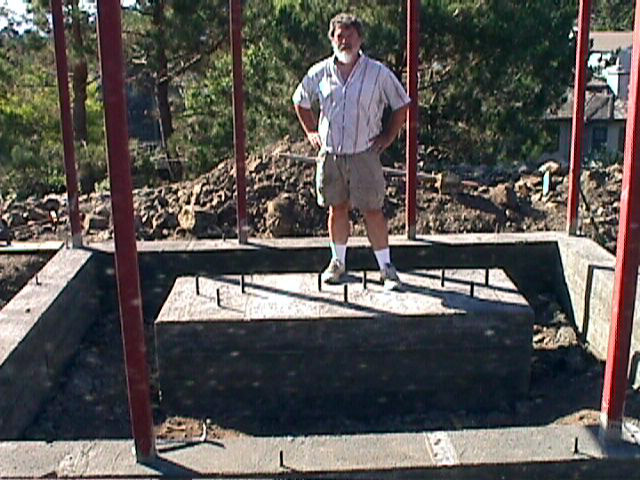
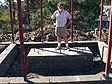 A Boy and His Pier :-)
The square top of the scope pier is 37 inches wide, 94 long, 34 deep = 2.5 cubic yards. That is in addition to the 24 inch diameter 10 foot deep (1.2 yards) cylinder below. Total: not quite 4 yards.
Note also the grade beams.
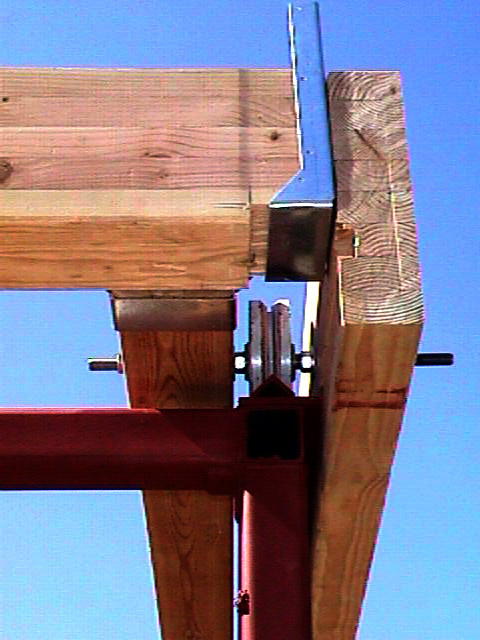
 A flat plate and a 90 degree angle sit on top form the track on which the wheels run. The flat plate fits in a slot in the outside roof beam to prevent the roof from going up in a strong wind.
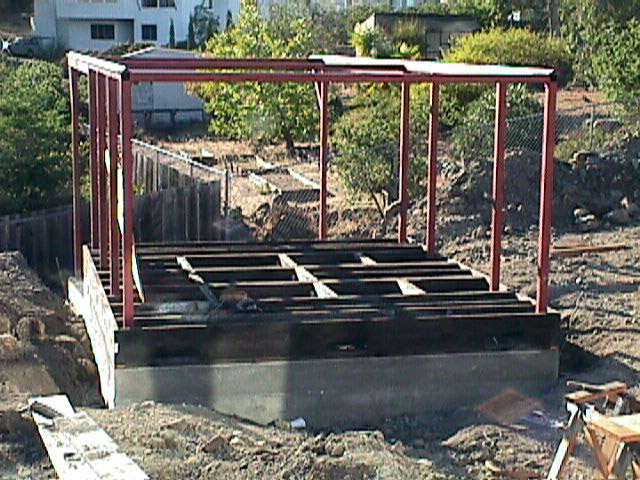
 2x12 pressure treated floor joists sit on top of the grade beams. 3/4" plywood on top of the joists forms the floor. Several hatches were cut in the plywood to provide access to the space below the floor for fiddling with wires, etc.
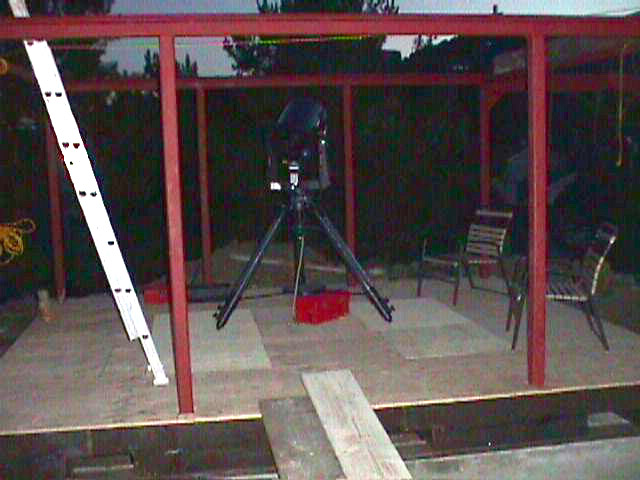
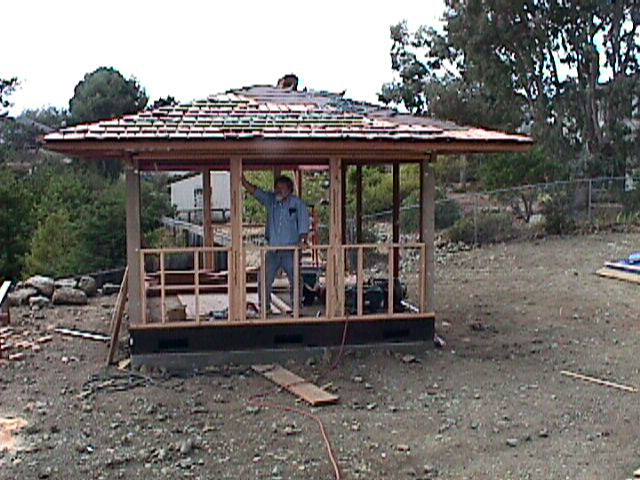
 1999 Oct 9: I set up my LX200 on its tripod to check how badly the sky will be obstructed by the upper rails. Not too bad! (Unfortunately, they got much thicker later on.)
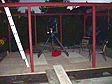
 The main rolling structure is made of six huge glu-lams and 8 6" cast iron wheels with chrome-moly all thread rods for axles. It rolls very smoothly. And quite easily at this stage; with the additional weight of the roof it later became quite a chore to move manually.
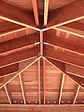 The roof itself is composed of redwood joists, redwood "V-rustic" ceiling, plywood for structural strength and cedar shakes on top. All this sits on the big glu-lams.
 Conventional stick framing for the nine windows.
 The walls are just plywood with redwood trim on top. NO insulation!
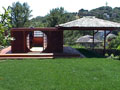
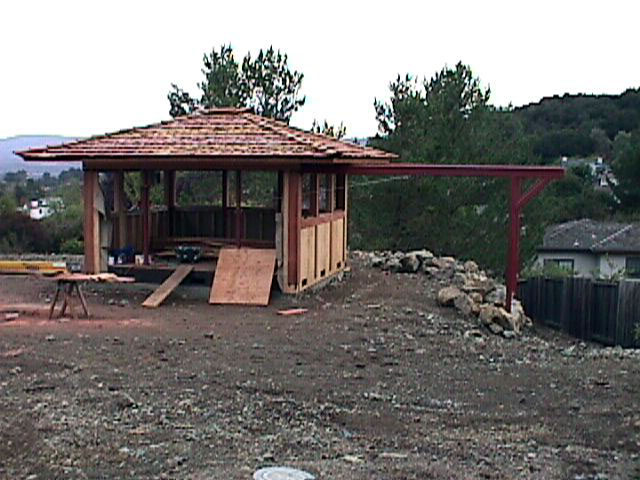
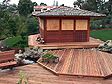 2000 Jan 25: Building the observatory was part of a larger landscaping and deck project. Here the rest is mostly done but we're still awaiting windows for the observatory.
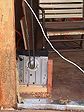
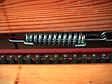
 The roof opener is a plain old 1/2 horsepower residential style garage door opener that we've had lying around for years. There is just enough chain (17ft) to run thru the opener's sprocket to fully open the roof. The rest of the length of the loop is 3/32" steel cable. The chain goes from the opener up to a turning wheel then across above the door not quite to the west wall. There it attaches to the cable which runs thru the wall, over a turning block attached to the far end and back thru the wall to the middle of the roof where it is attached to the roof via a pair of springs. A short piece of calbe completes the loop from the attachment point back over another wheel to the opener. When the roof is open the chain extends from the opener over the other wheel.
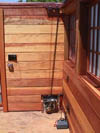
 4 bolts attach the opener to the floor. It was a bitch getting to the bottom side of the bolts. (The white line is a piece of romex just hanging there temporarily until the wall is built.)
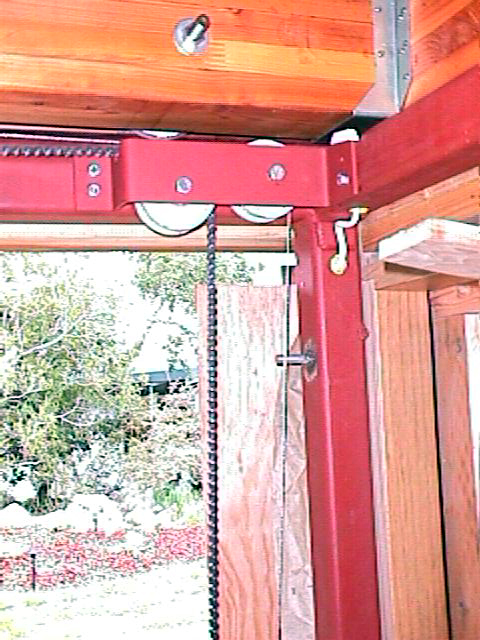
 Left over wheels became idler pulleys.
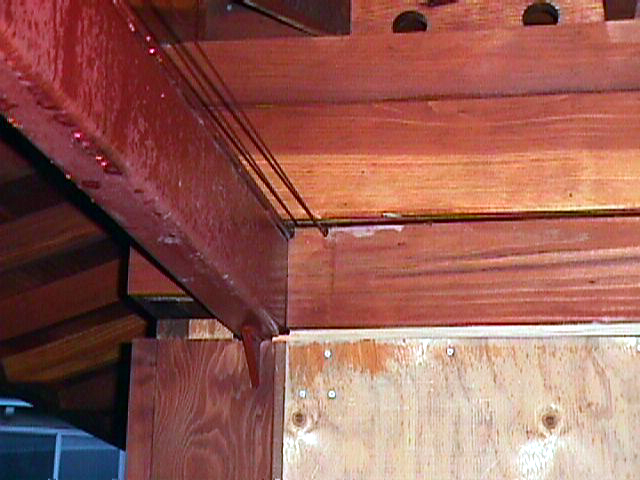
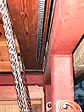 The chain/cable joint just before it passes thru the west wall.
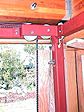
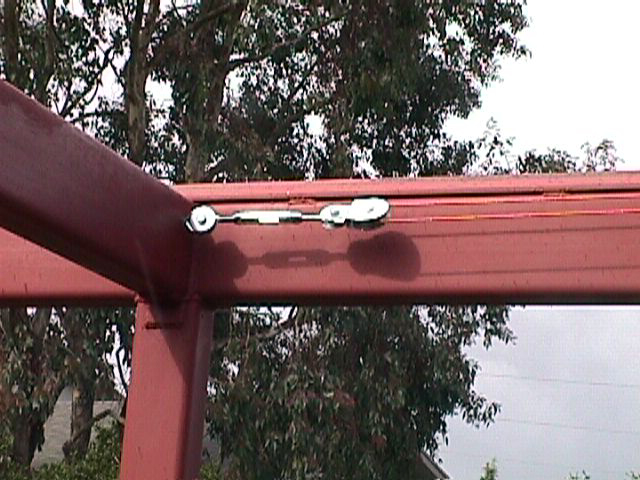
 Turning block at the west end attached with another turnbuckle. This one is used to tension the whole cable/chain loop.
 Outside of west wall: only cable passes thru the wall, no chain.
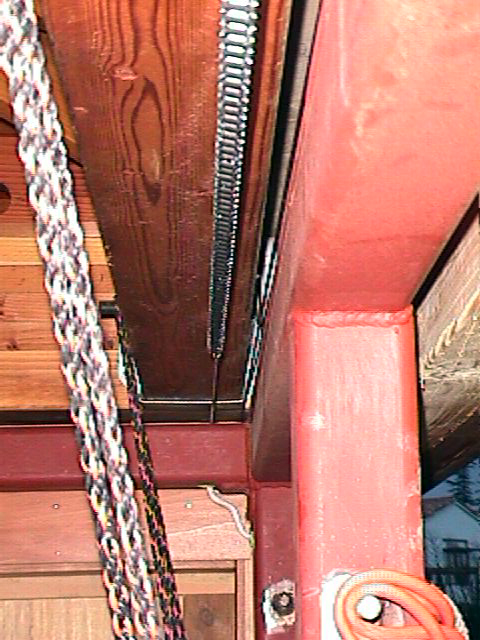
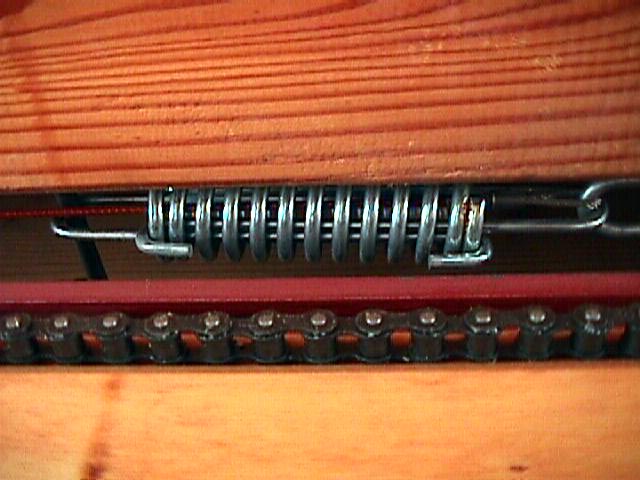
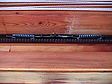 Looking up at the attachment of the chain/cable to the roof (also visible is the other side of the chain). They are connected via a couple of springs so that the shock loads of starting and stopping the motor will be reduced. It works quite well but it was necessary to use quite large springs and to preload them a little.
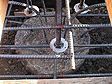
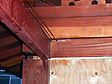
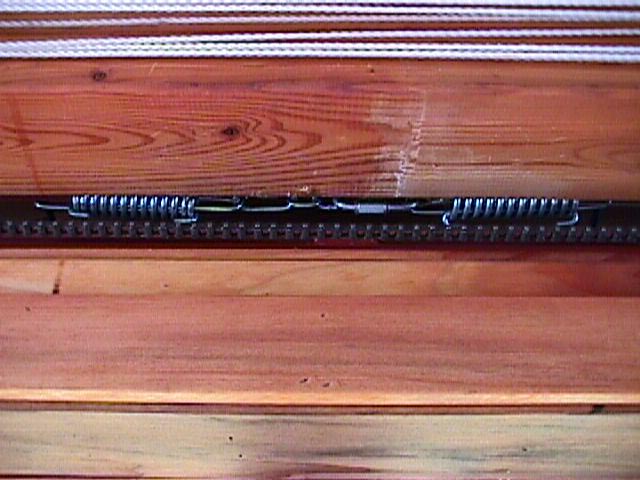
 Closeup of one end of the attachment thingie. A 5/16" steel rod goes thru both glue lams and holds one end of the spring. The other end of the spring is connected via a couple shackles to the other spring which is fastened to the roof identically. The shackles are tight so that they take up the slop and the springs don't flop around too much. The cable attaches to the shackles (barely visible here, it passes thru the spring).
This was the second attempt. The first attempt used a turnbuckle instead of the shackles. But the eye at the end of the turnbuckle broke. So Jeff and I replaced it with a bit of chain and shakles. It was all we could do with a 8:1 block and tackle to compress the springs enough to get the shackles on and still have a bit of tension in the springs when all is done. (I should have used a marine grade turnbuckle :-(
 Feb 27: The rolling roof mechanism working!
(click to see an animation (3.7M gif))
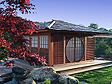
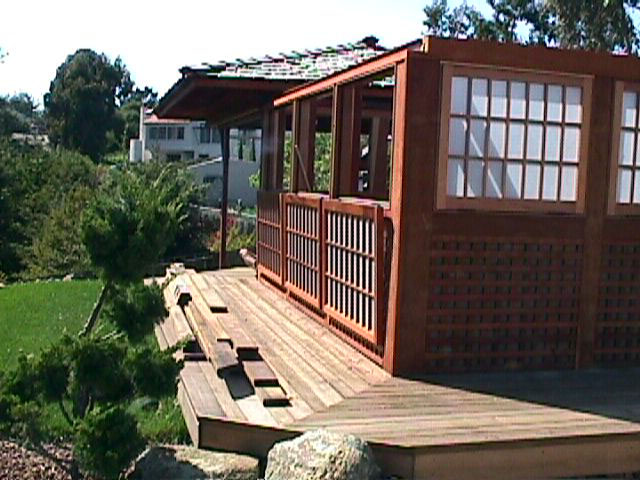
 Apr 4: Windows at last. There are three on each of the west, south and east walls. The taller panels on the north wall are sliding "shoji" doors.
The windows are hinged at the bottom to fold out and down. Each one is held closed by a pair of hooks and eyes.
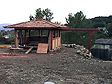
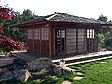
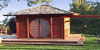
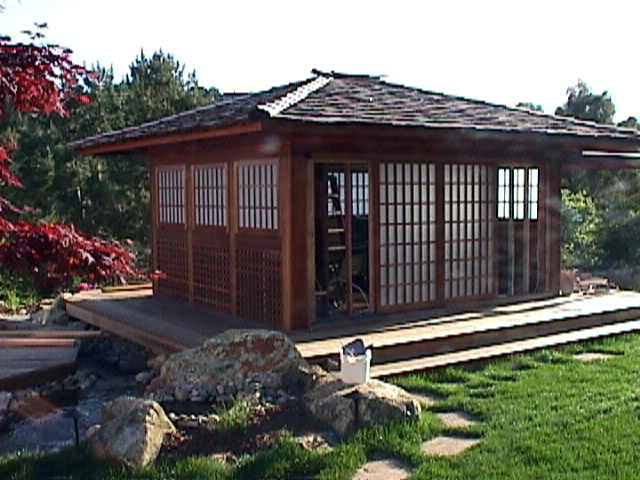
 Apr 6: Finished the "Moon door" on the north side. This is pretty much the final exterior appearance (except for oil finish on the deck so it matches the walls).
I'm very happy with the way it came out!
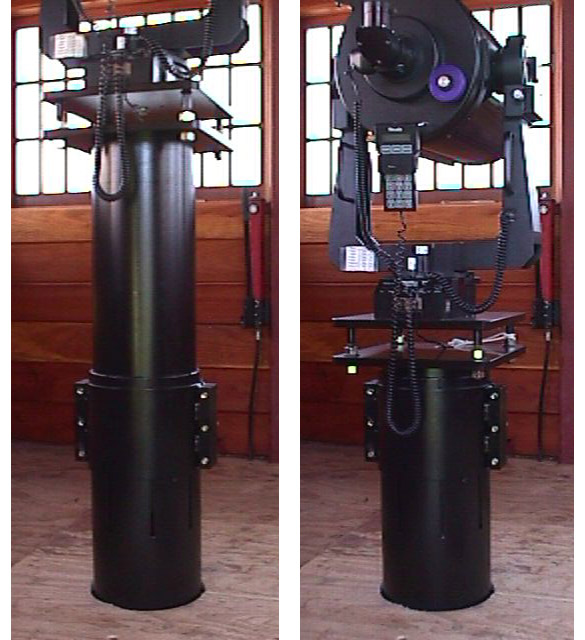
 Apr 26: The last major piece to be finished was the steel pier. To ameliorate the constraints of the high window frames and roof supports, the pier is built in two sections which telescope over a range of 20 inches (the scope base goes from 26 to 46 inches above the floor). This allows me to sometimes set the scope at a very low height and look out thru an open window at objects low to the horizon and then at other times to raise it up so that the object can be seen above the window. The bottom section is bolted to the concrete pier under the floor. The top section fits loosely inside the bottom section (which required turning down the top section on a lathe). A hydraulic jack inside the tubes (operated by the pump on the wall) raises and lowers the top section (with the scope attached) and then the two are clamped together by a collar with six big bolts. (Of course, all this is for visual work only; raising or lowering the pier will certainly destroy a careful polar alignment.)
And it came out looking gorgeous!
(click for an animation (7.1M gif))
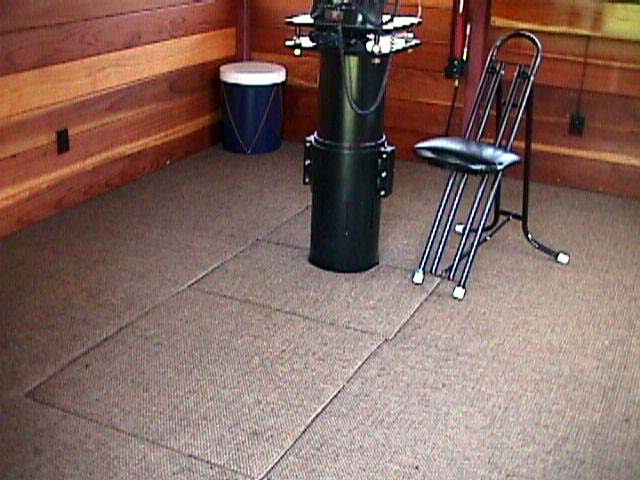
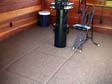 July 3: Carpet installed (with cutouts for trap doors). Carpet is not a good surface for a Dob. So I made a little wooden tripod that sits just under the western trap door on top of the concrete pier. Removing the carpeted cover then reveals a nice stable spot for a Dob. I'll use this until I install a second pier.
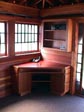
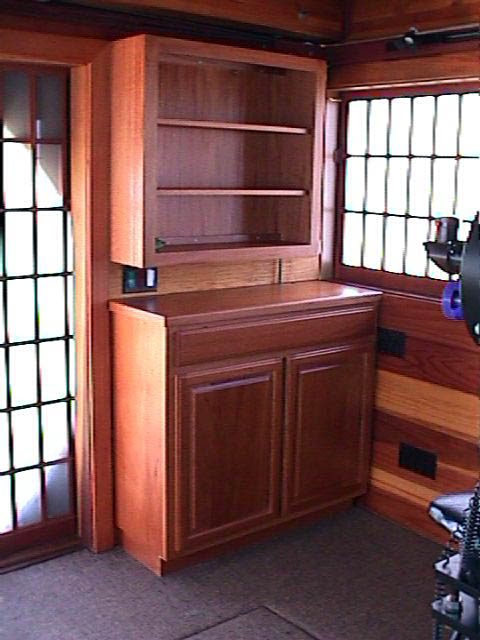
 July 17: Installed cabinet, desk and bookcases. In the NW corner is a pentagonal desk with drawers and a bookcase. In the NE corner is another bookcase and a cabinet which hides the roof opener and has space for all the electrical junk and a little extra storage. All made in a cabinet shop of mahogany.
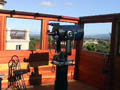 A view from inside with everything open showing the obstruction caused by the window frames and roof supports. This is the southeast corner looking toward Silicon Valley.
11 months and 6 days since we started digging we're finally done! But
I suppose this project will never really end; I already have a couple
more things that I want to do. But they can wait; for now I'm going
to sit down and enjoy it for a while :-)
 Bill Arnett
last updated:
2000 Jul 18
 1999 Aug 11: The first act of the construction project was to remove my temporary pier.
 Eight 16" diameter holes and two 24" diameter holes were drilled 8' deep to support the walls of the observatory. Plus an additional 24" hole 10' deep for the telescope pier itself. Our "soil" is very rocky; these 11 holes took all day for this giant drill rig; imagine doing it any other way :-(
 A steel reinforcing bar cage was built for each hole, then lowered in place and supported a few inches off the ground before the concrete was poured.
 The bottom half of the telescope pier; we added four extra rebars in addition to the cage to help tie into the upper part which was poured a few days later along with the grade beams. Most of the intervening time was spend tieing the rebars in the grade beams. We must have used 1000 ties :-(
 The structural strength of the building is provided by 8 3" square steel tubes bolted onto the concrete piers and encased and connected by reinforced concrete grade beams. Two more steel tubes hold up the roll-off support rails. All these are connected at the top by more 3" tubes to form a complete steel box frame.
 The scope pier has three sets of three 18" long 1" diameter steel bolts for attaching a steel telescope support pier. These bolts are mostly embedded in the concrete with the big washers at the bottom to help hold them in place. (The plywood is just to keep them in place while the concrete sets.)
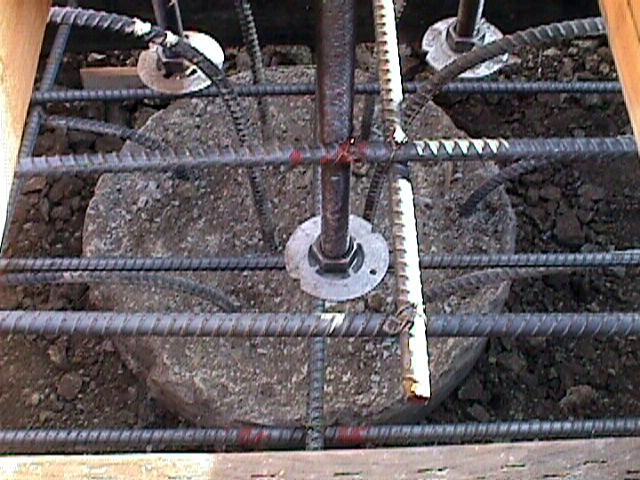


